


The Dish
Long before Rick and Morty bemoaned the unavailability of Szechuan Sauce, pining for discontinued or seasonal promotional menu items at fast food chains was always a thing. One such item is a popular burger chain’s rib sandwich – or “ribwich”, a tasty combo of sauced, processed “pork” and a handful of toppings on a bun. But why use processed meat when you can cook a whole rack of St Louis cut ribs, remove the bones and throw them between some bread?
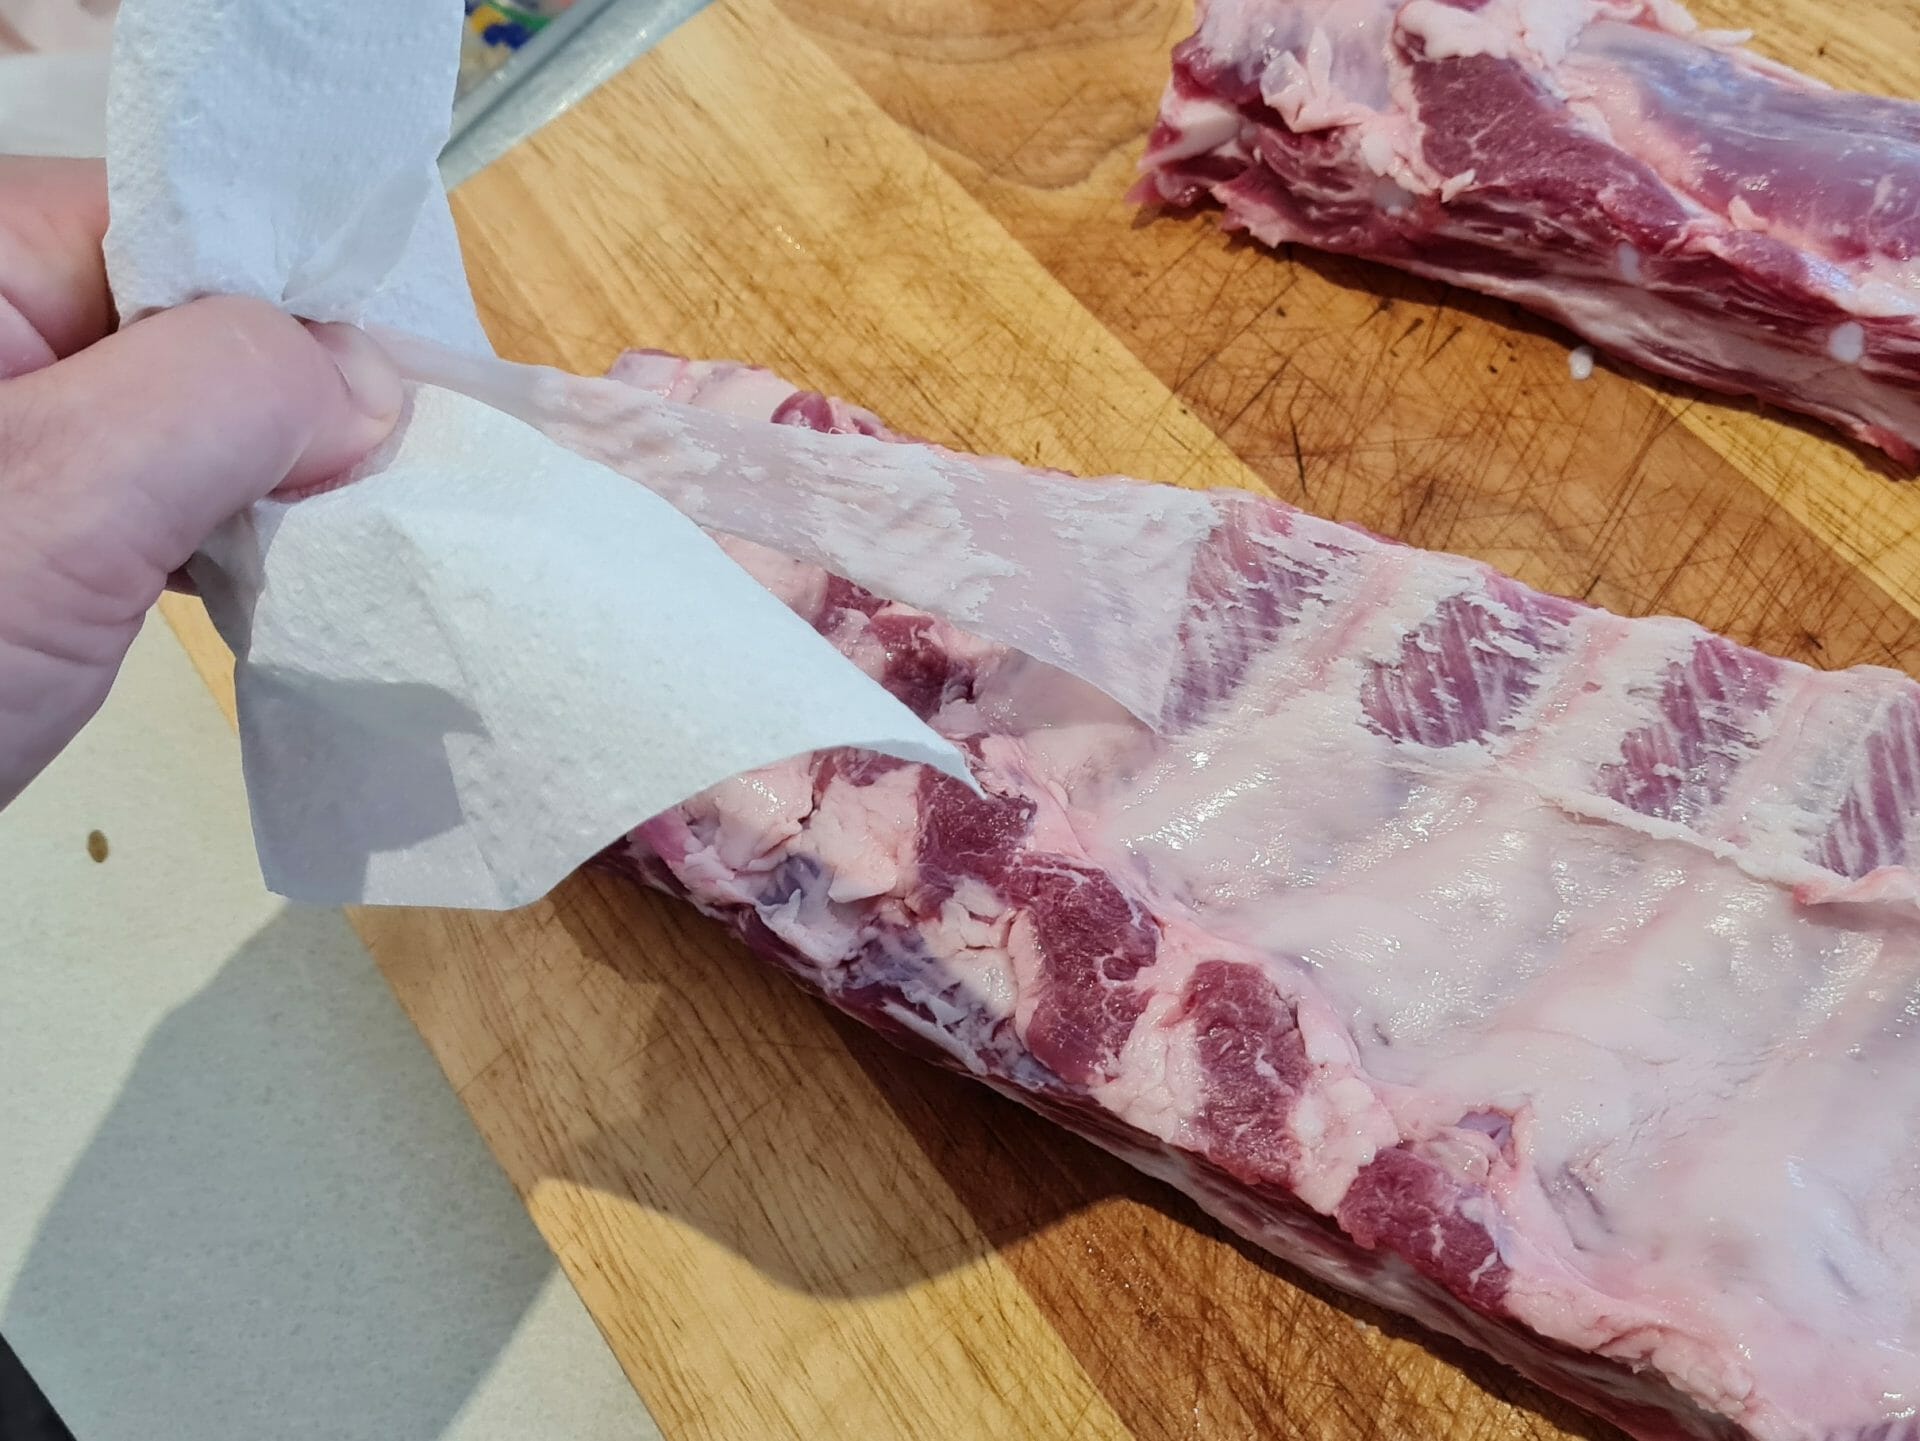
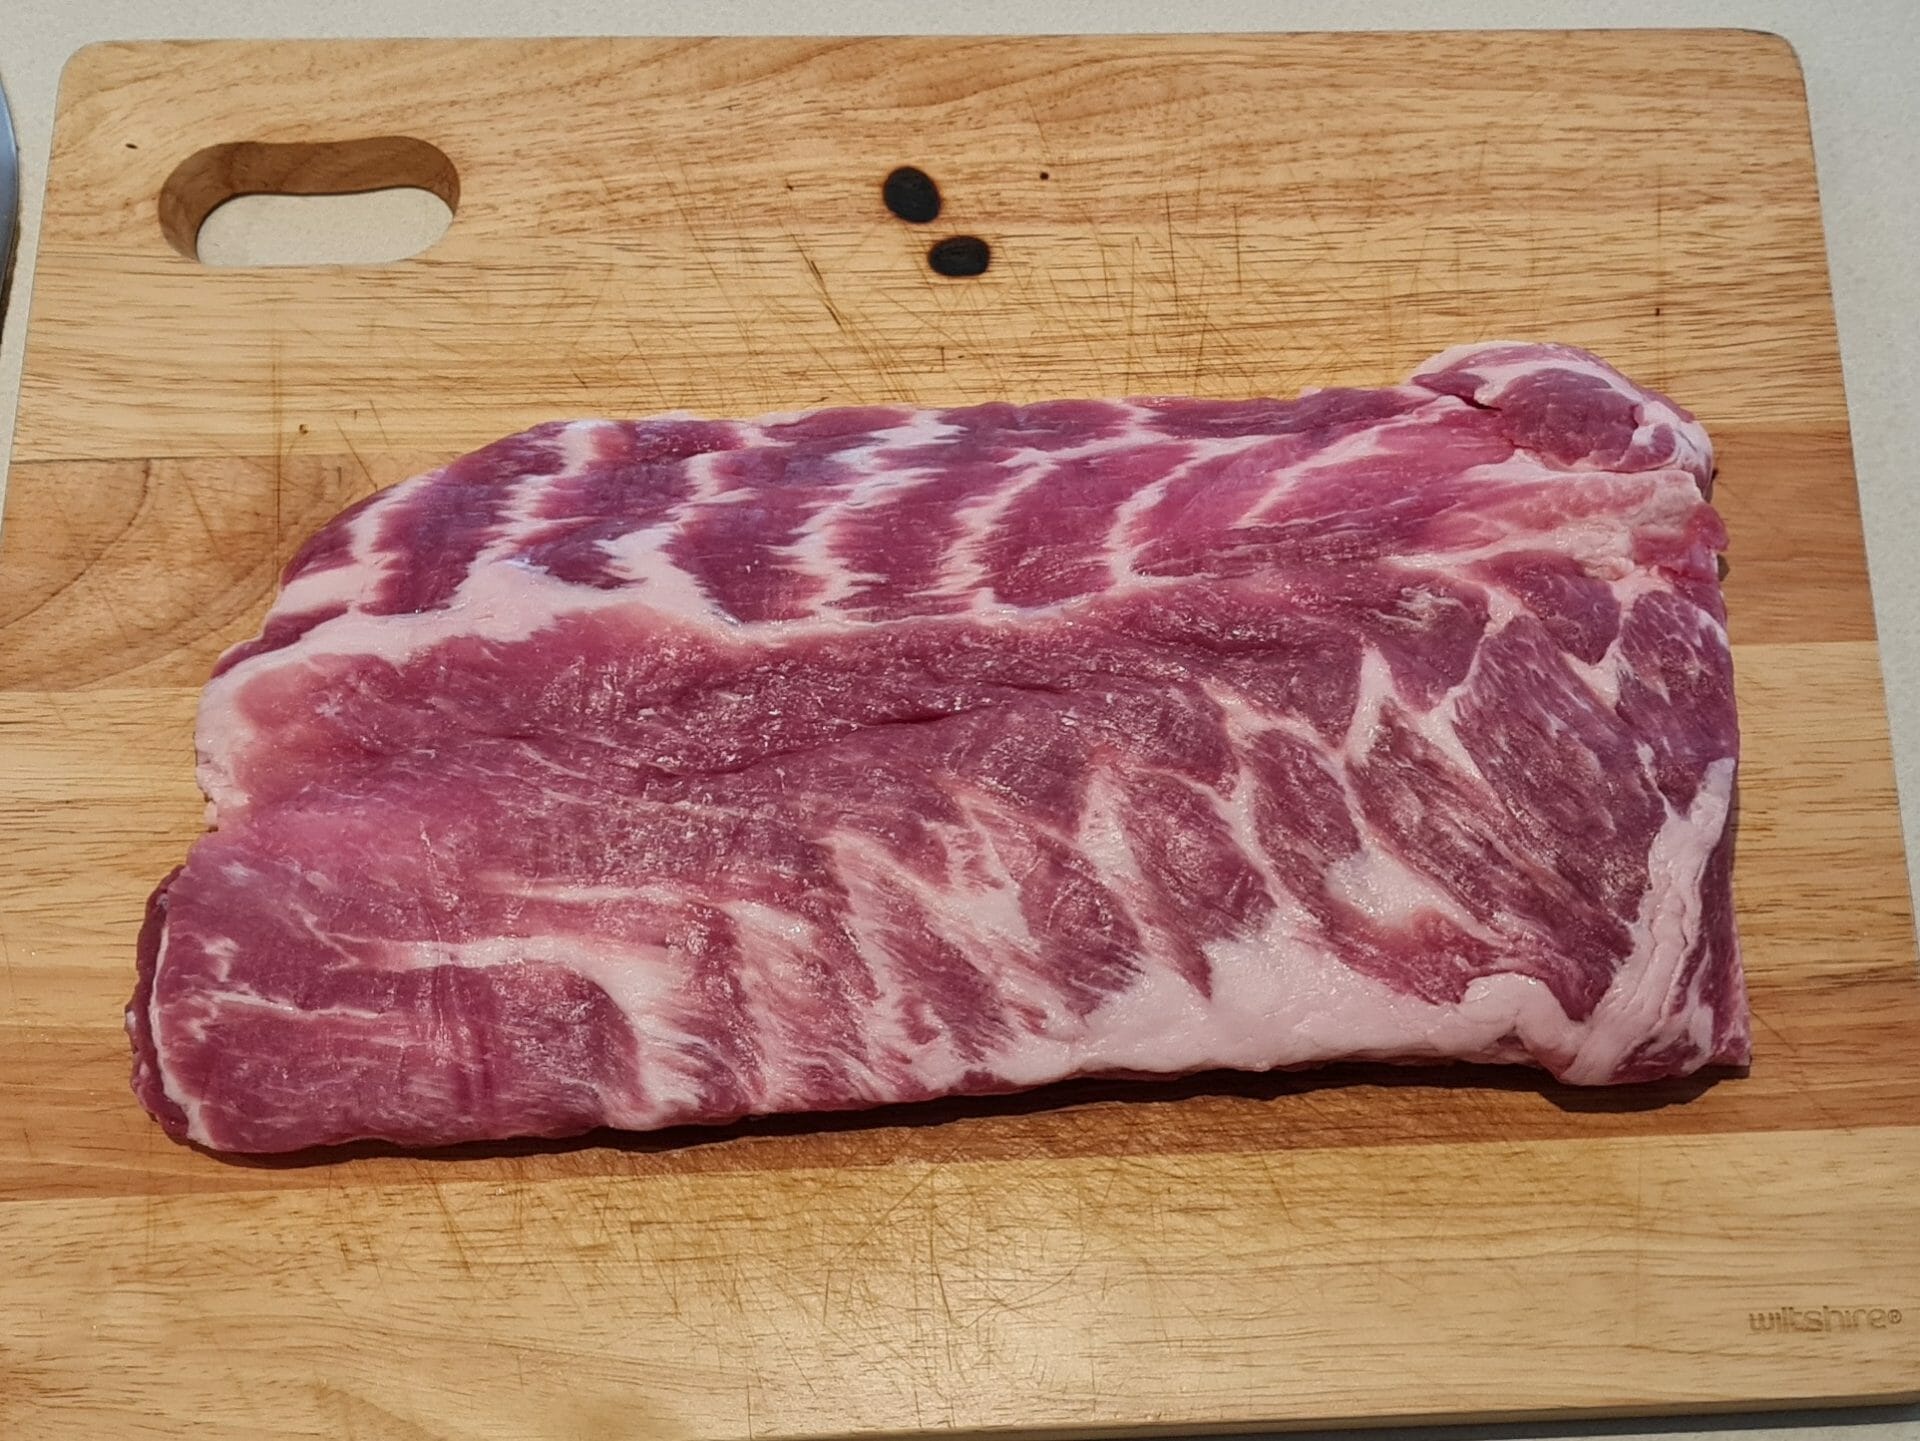
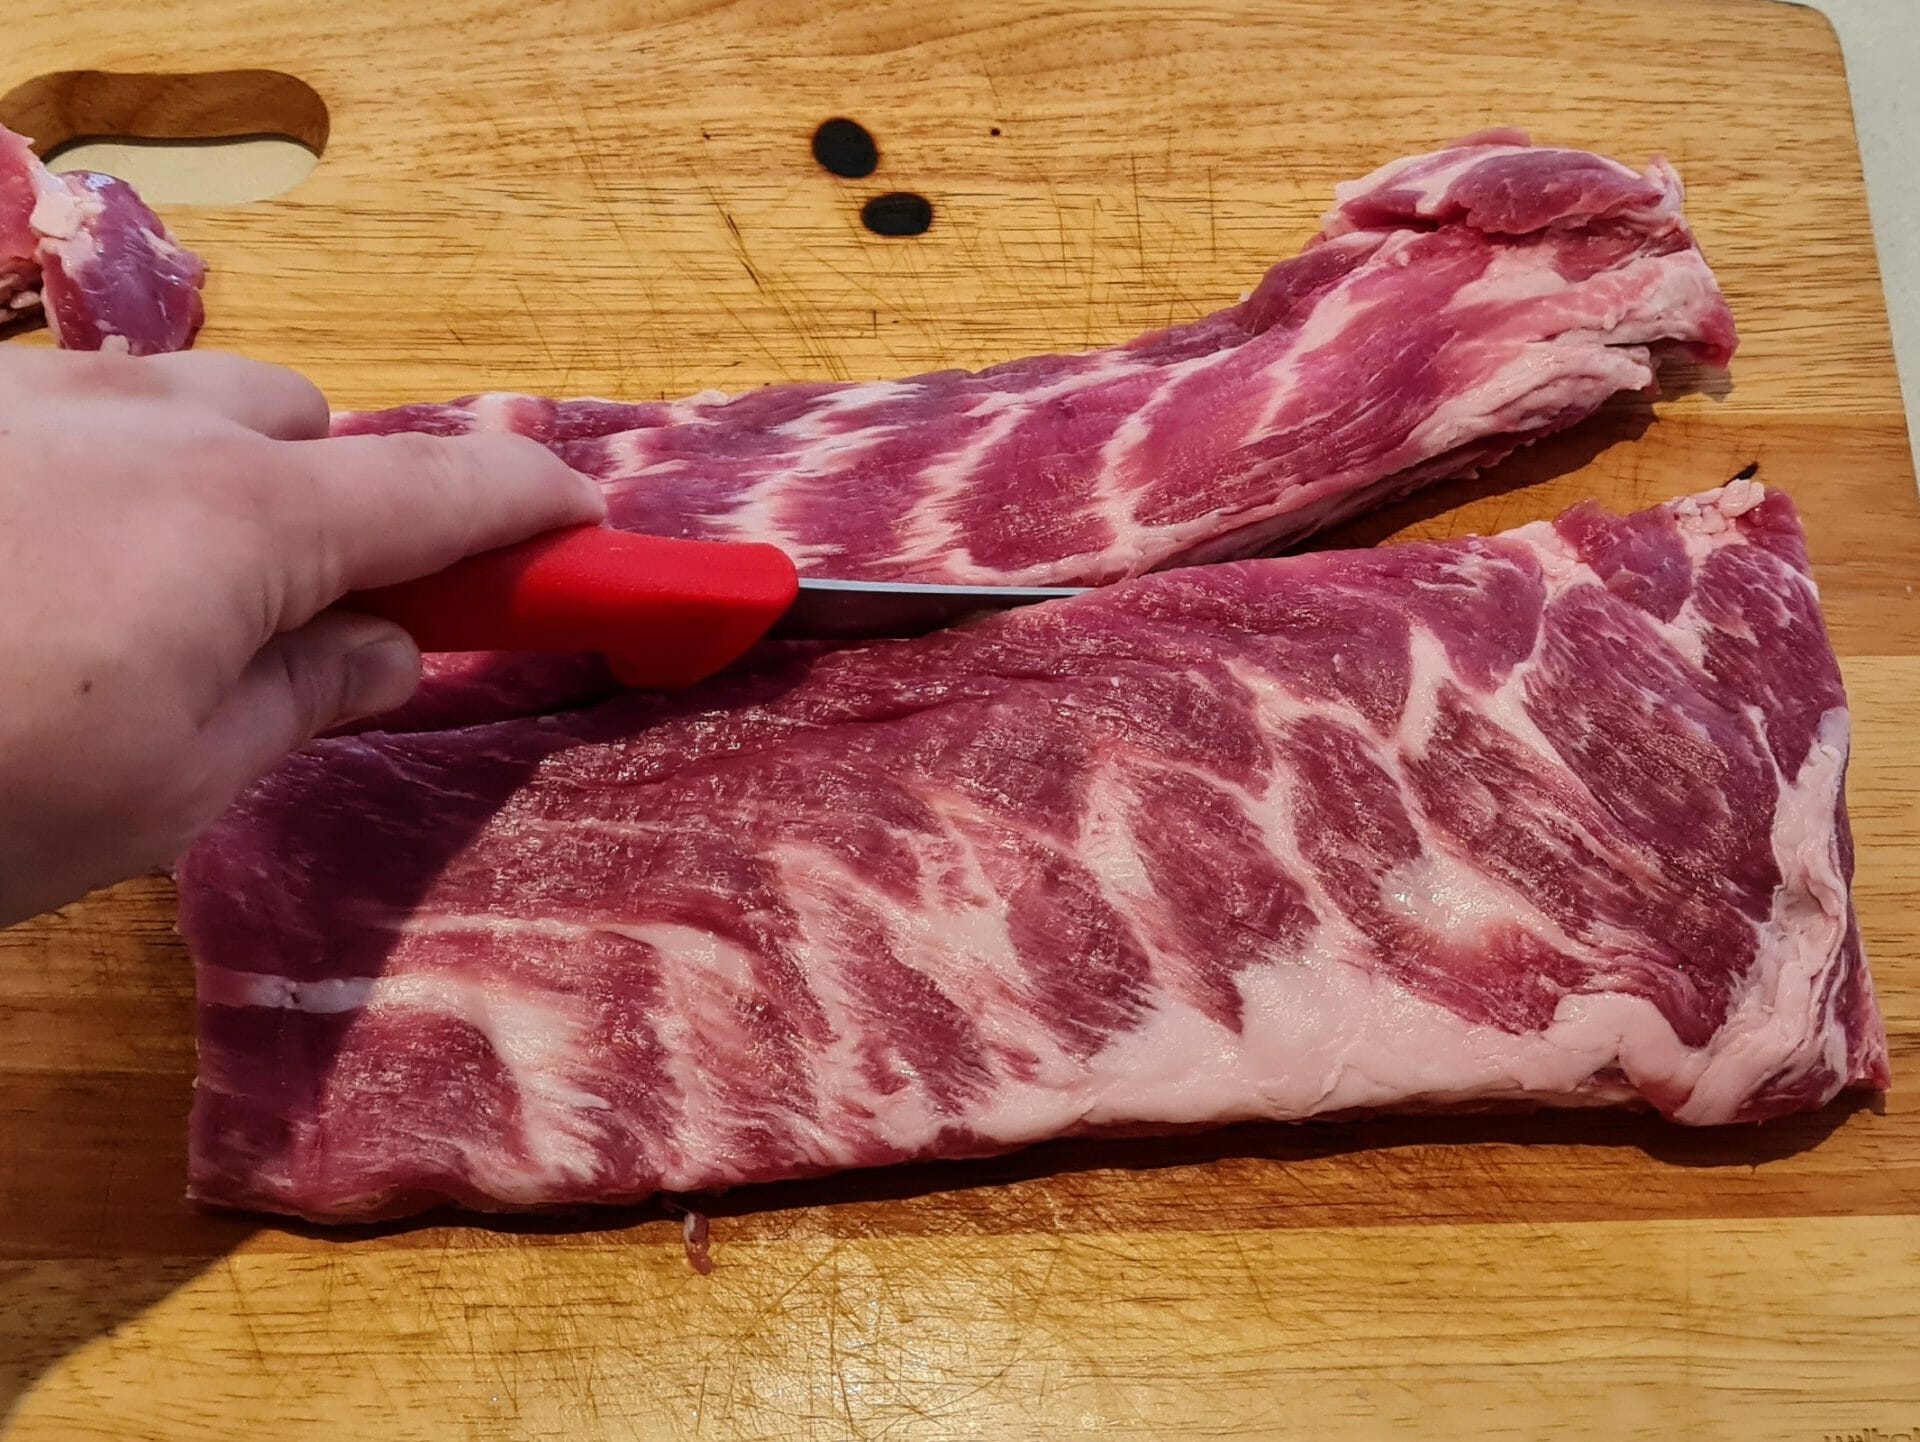
The cut is important here. St Louis (or Kansas City / Competition) cut ribs are much meatier than the average baby back, and are a fairly consistent size so they suit this application. If you can’t find St Louis ribs, you can get a whole rack of spare ribs and trim them up with a good knife (I use and recommend the Tramontina Boning Knife). This will trim off the “flap meat” on the back and the “rib tips”, which are a Chicago favourite, and delicious to put aside and cook (or throw them on at the same time for a pitmasters’ treat!). I have included a guide below if you need help trimming up your own St Louis ribs.
The Cooker
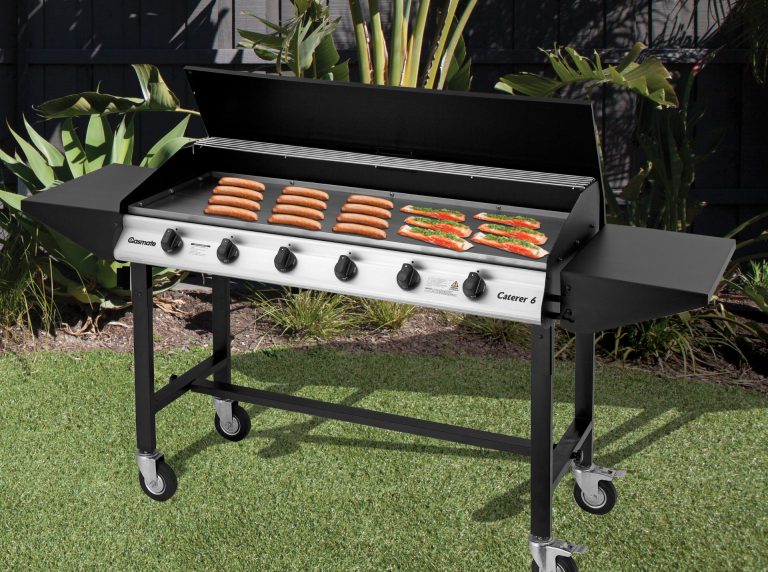
For this cook, I’m using my Weber Kettle. We want to be set up for a low heat, indirect cook. For this, I’m using the Weber Char Ring and Deflector plate that come standard with the Master-Touch Plus, but if you don’t have this you can use the snake method or something like the JG BBQ Offset Plate. Alternatively, an offset or pellet grill will give great results, or you can use a hooded gas BBQ in a pinch. We are aiming for a cooking temp of 110-120°C.
I’m using Cherry Wood Chunks for smoke – but use whichever smoke you like best!
The Ingredients
- 1 rack St Louis Cut Pork Ribs (or full spare ribs, trimming instructions below)
- 1 Medium Red onion
- Your favourite pork rub (I use Hardcore Carnivore Red)
- Your favourite BBQ sauce (ask the shop for a recommendation to suit your tastebuds!)
- Pickled Veg to taste (I’m using gherkins and pickled jalapenos)
- Soft long bread rolls
- 2 TBSP Brown Sugar*
- 2 TBSP Butter*
- 1 TBSP Honey*
*If you prefer dry ribs, you will not need the sugar, butter and honey. In this instance, spray dry spots with apple cider vinegar every 30-45 minutes in the wrapped period below
The Method
- Trim and rub your ribs to taste. You do not need a binder when cooking with pork.
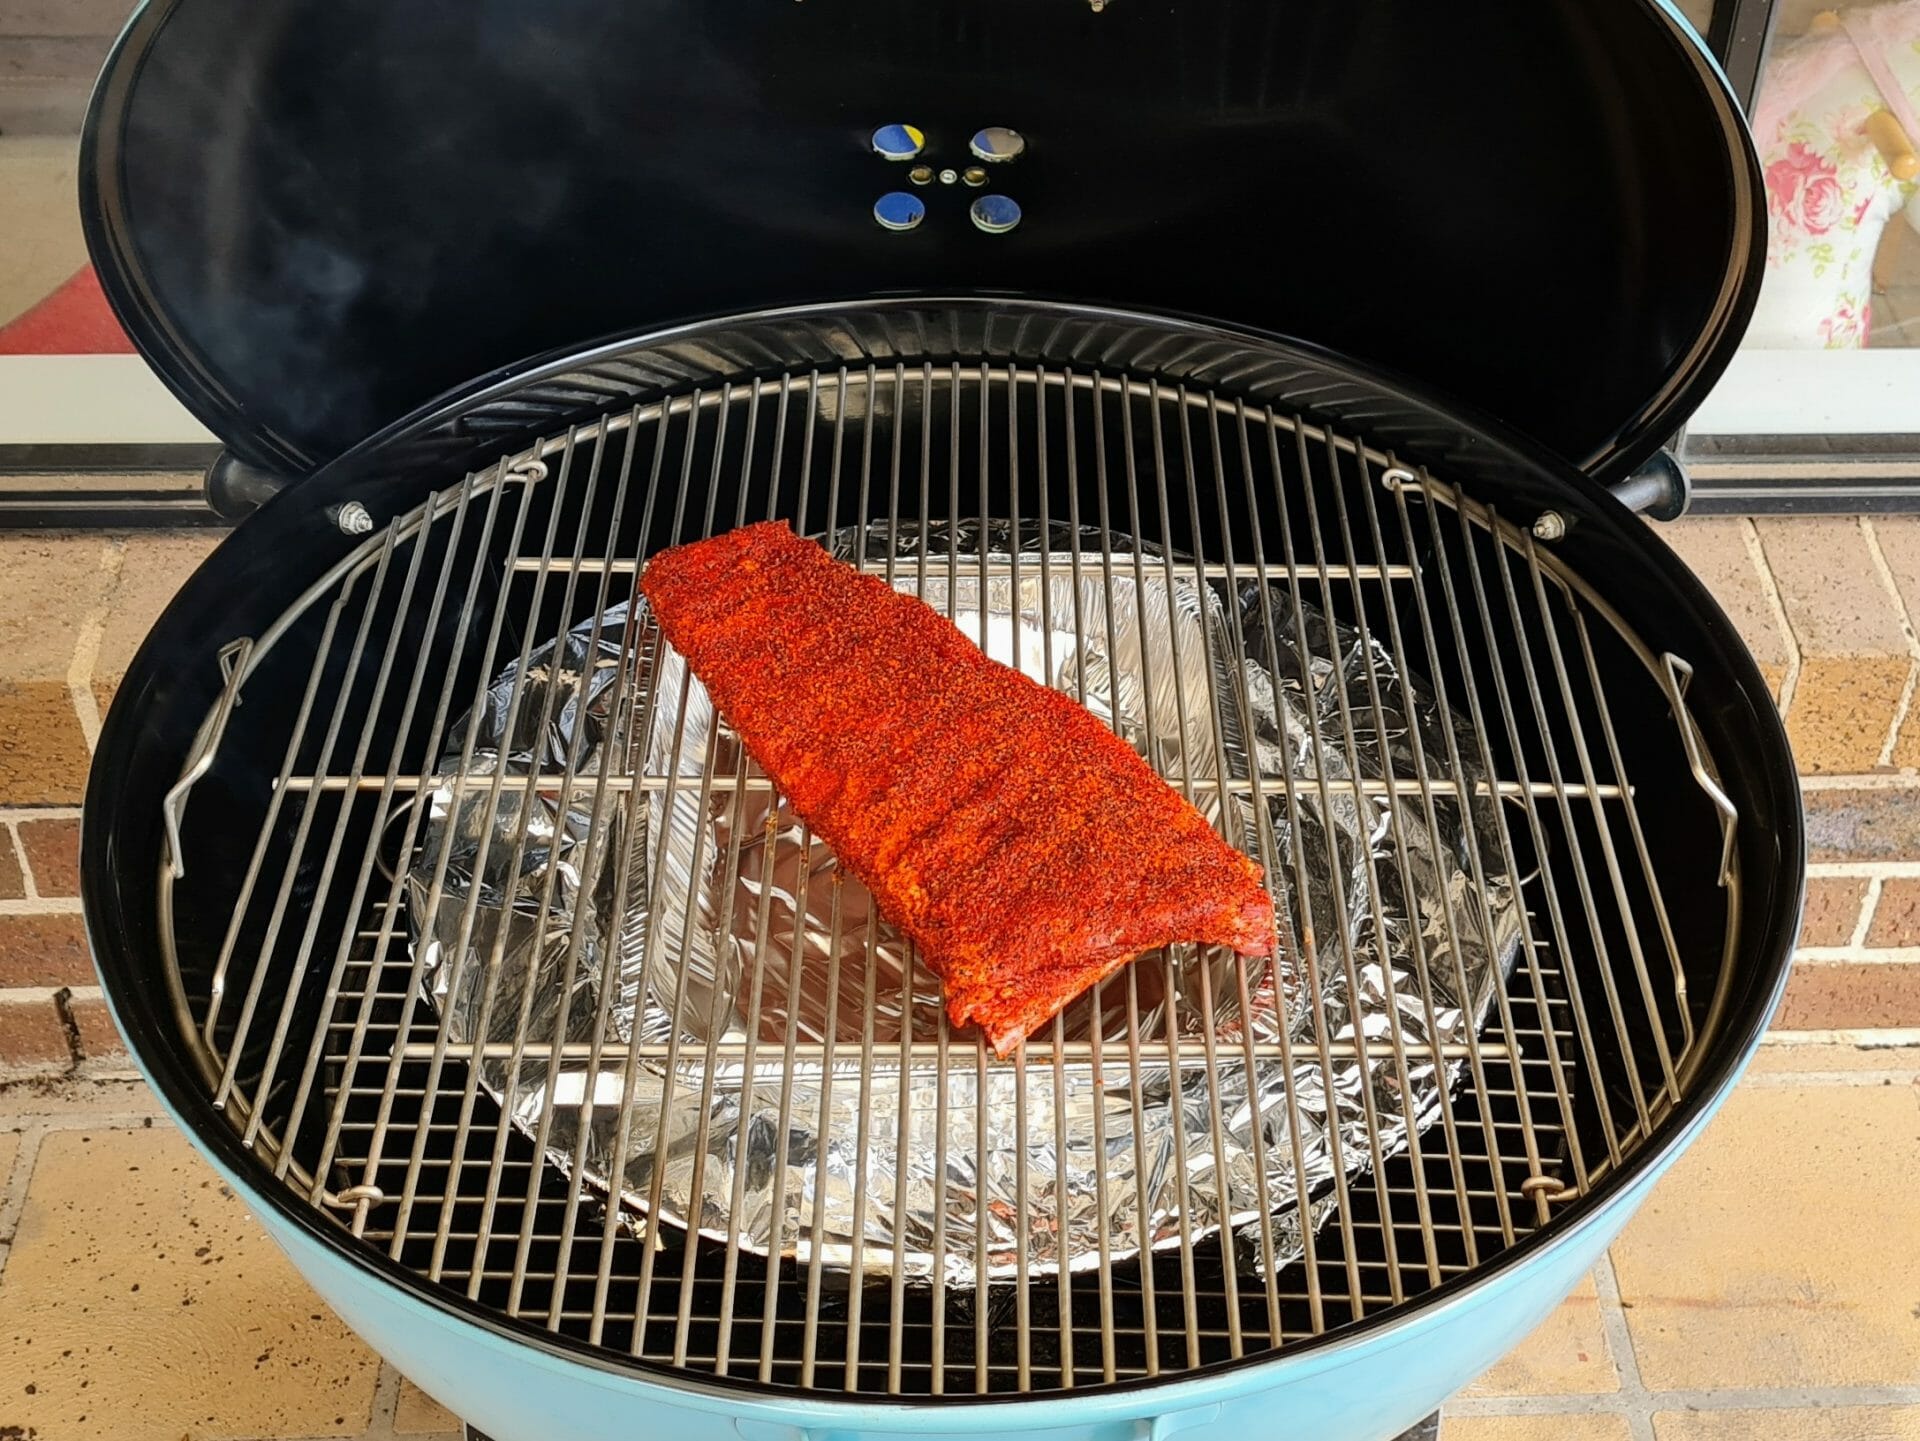
- Set your cooker for indirect, low heat (110-120°C)
- Once your cooker is up to temp, throw in the ribs and cook, uncovered for 1 ½ hours, or until you are happy with the colour
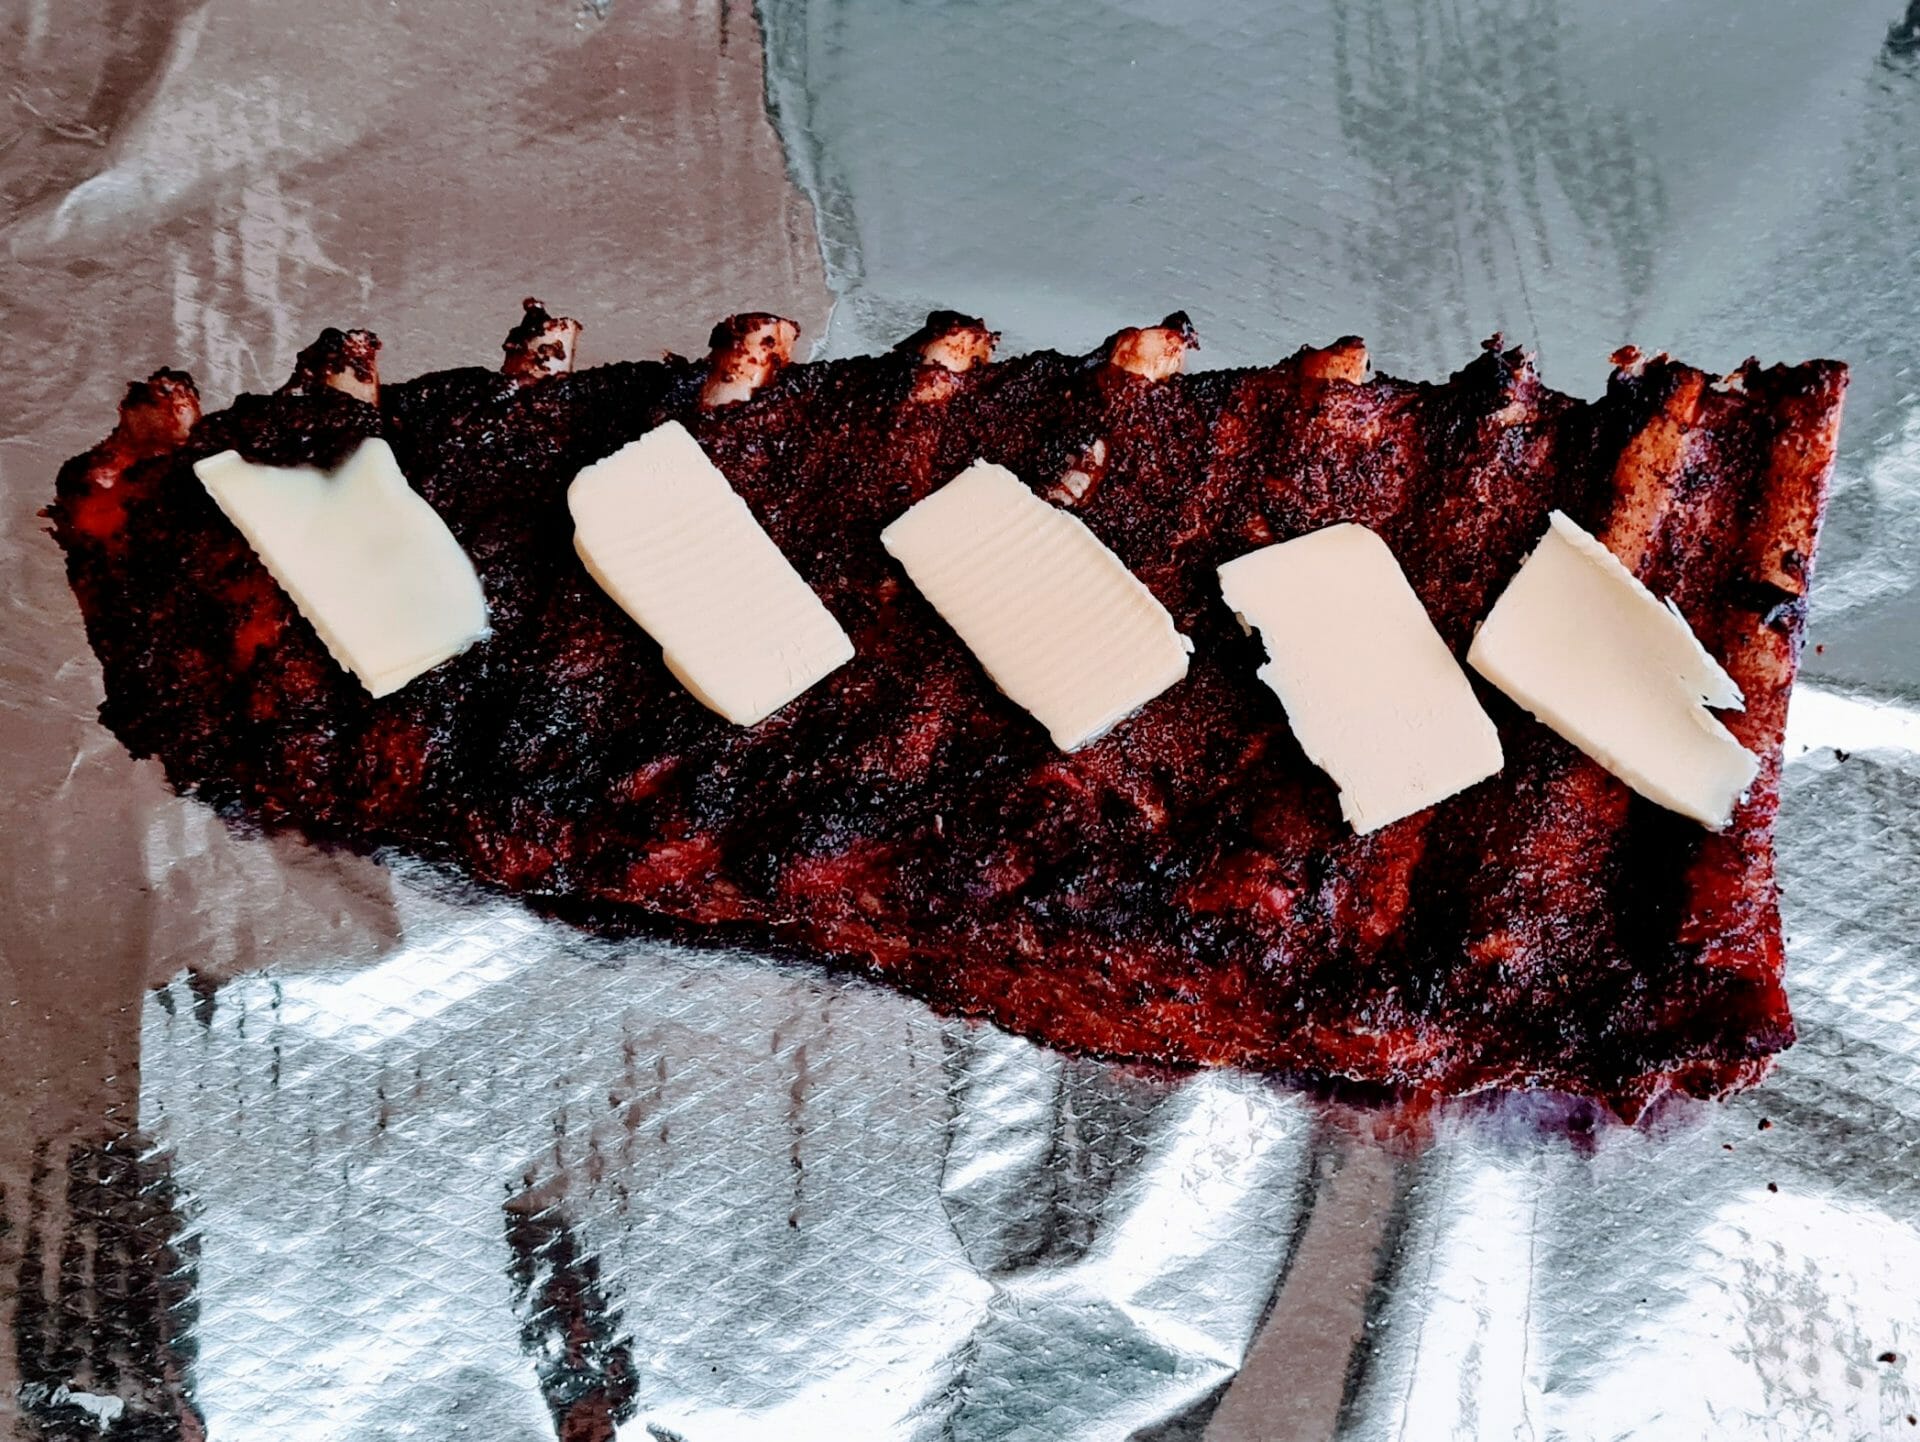
- Lay out a double layer of aluminium foil about 1.5 times the length of your ribs and lie your ribs neat side down
- Evenly distribute the butter, brown sugar and honey over the back of the ribs, wrap and place in the cooker for another hour.
- Check your ribs for tenderness, we’re looking for about 96°C and the bones should pull out with minimum resistance. If they’re not done yet, continue every 30 minutes (BBQ is not an exact science!)
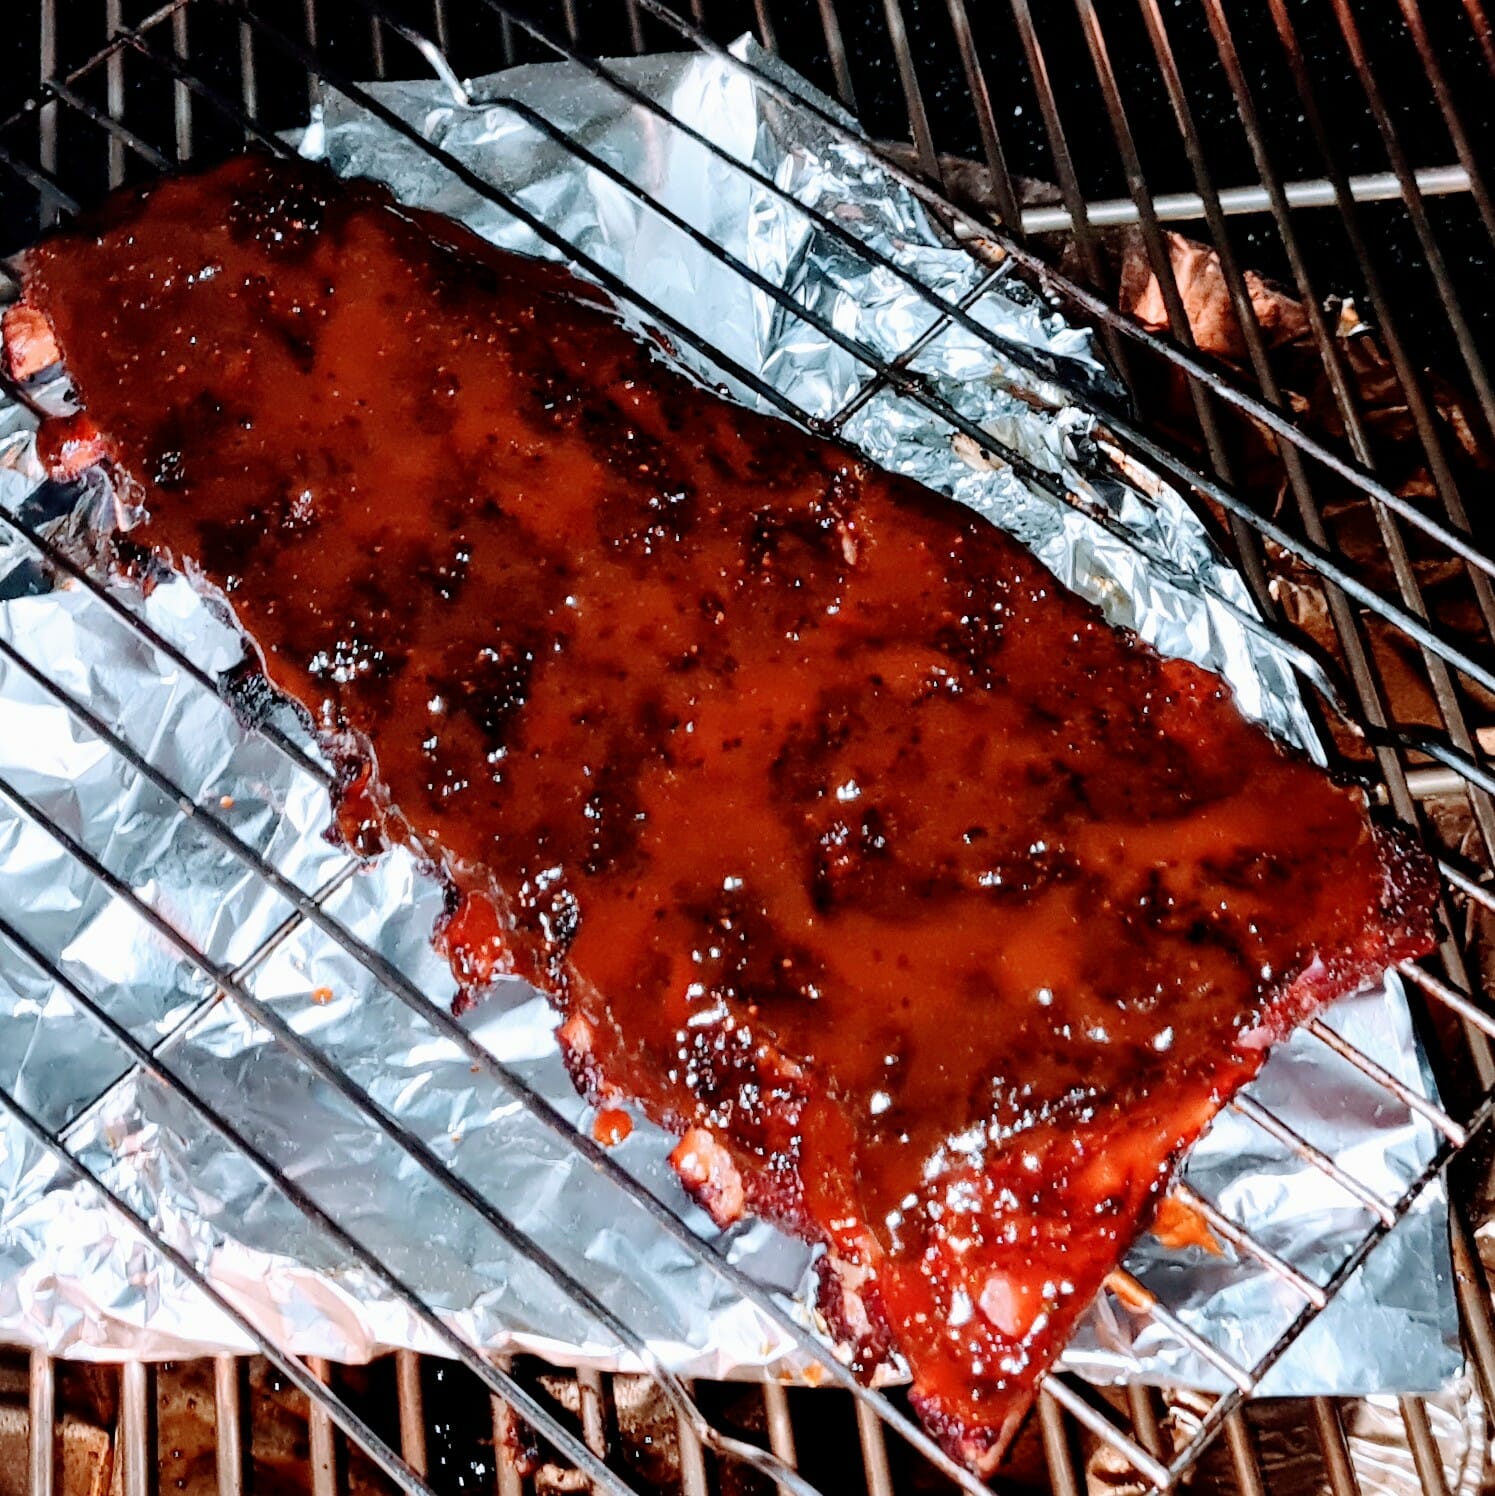
- Once you are happy with the tenderness, take the ribs out of the wrap, mix some of the juice/butter in the foil with ⅓-½ cup of your bbq sauce to warm and thin to make a glaze
- Place the ribs on a rack back into your cooker and baste with BBQ sauce and cook for 10 mins to set the glaze.
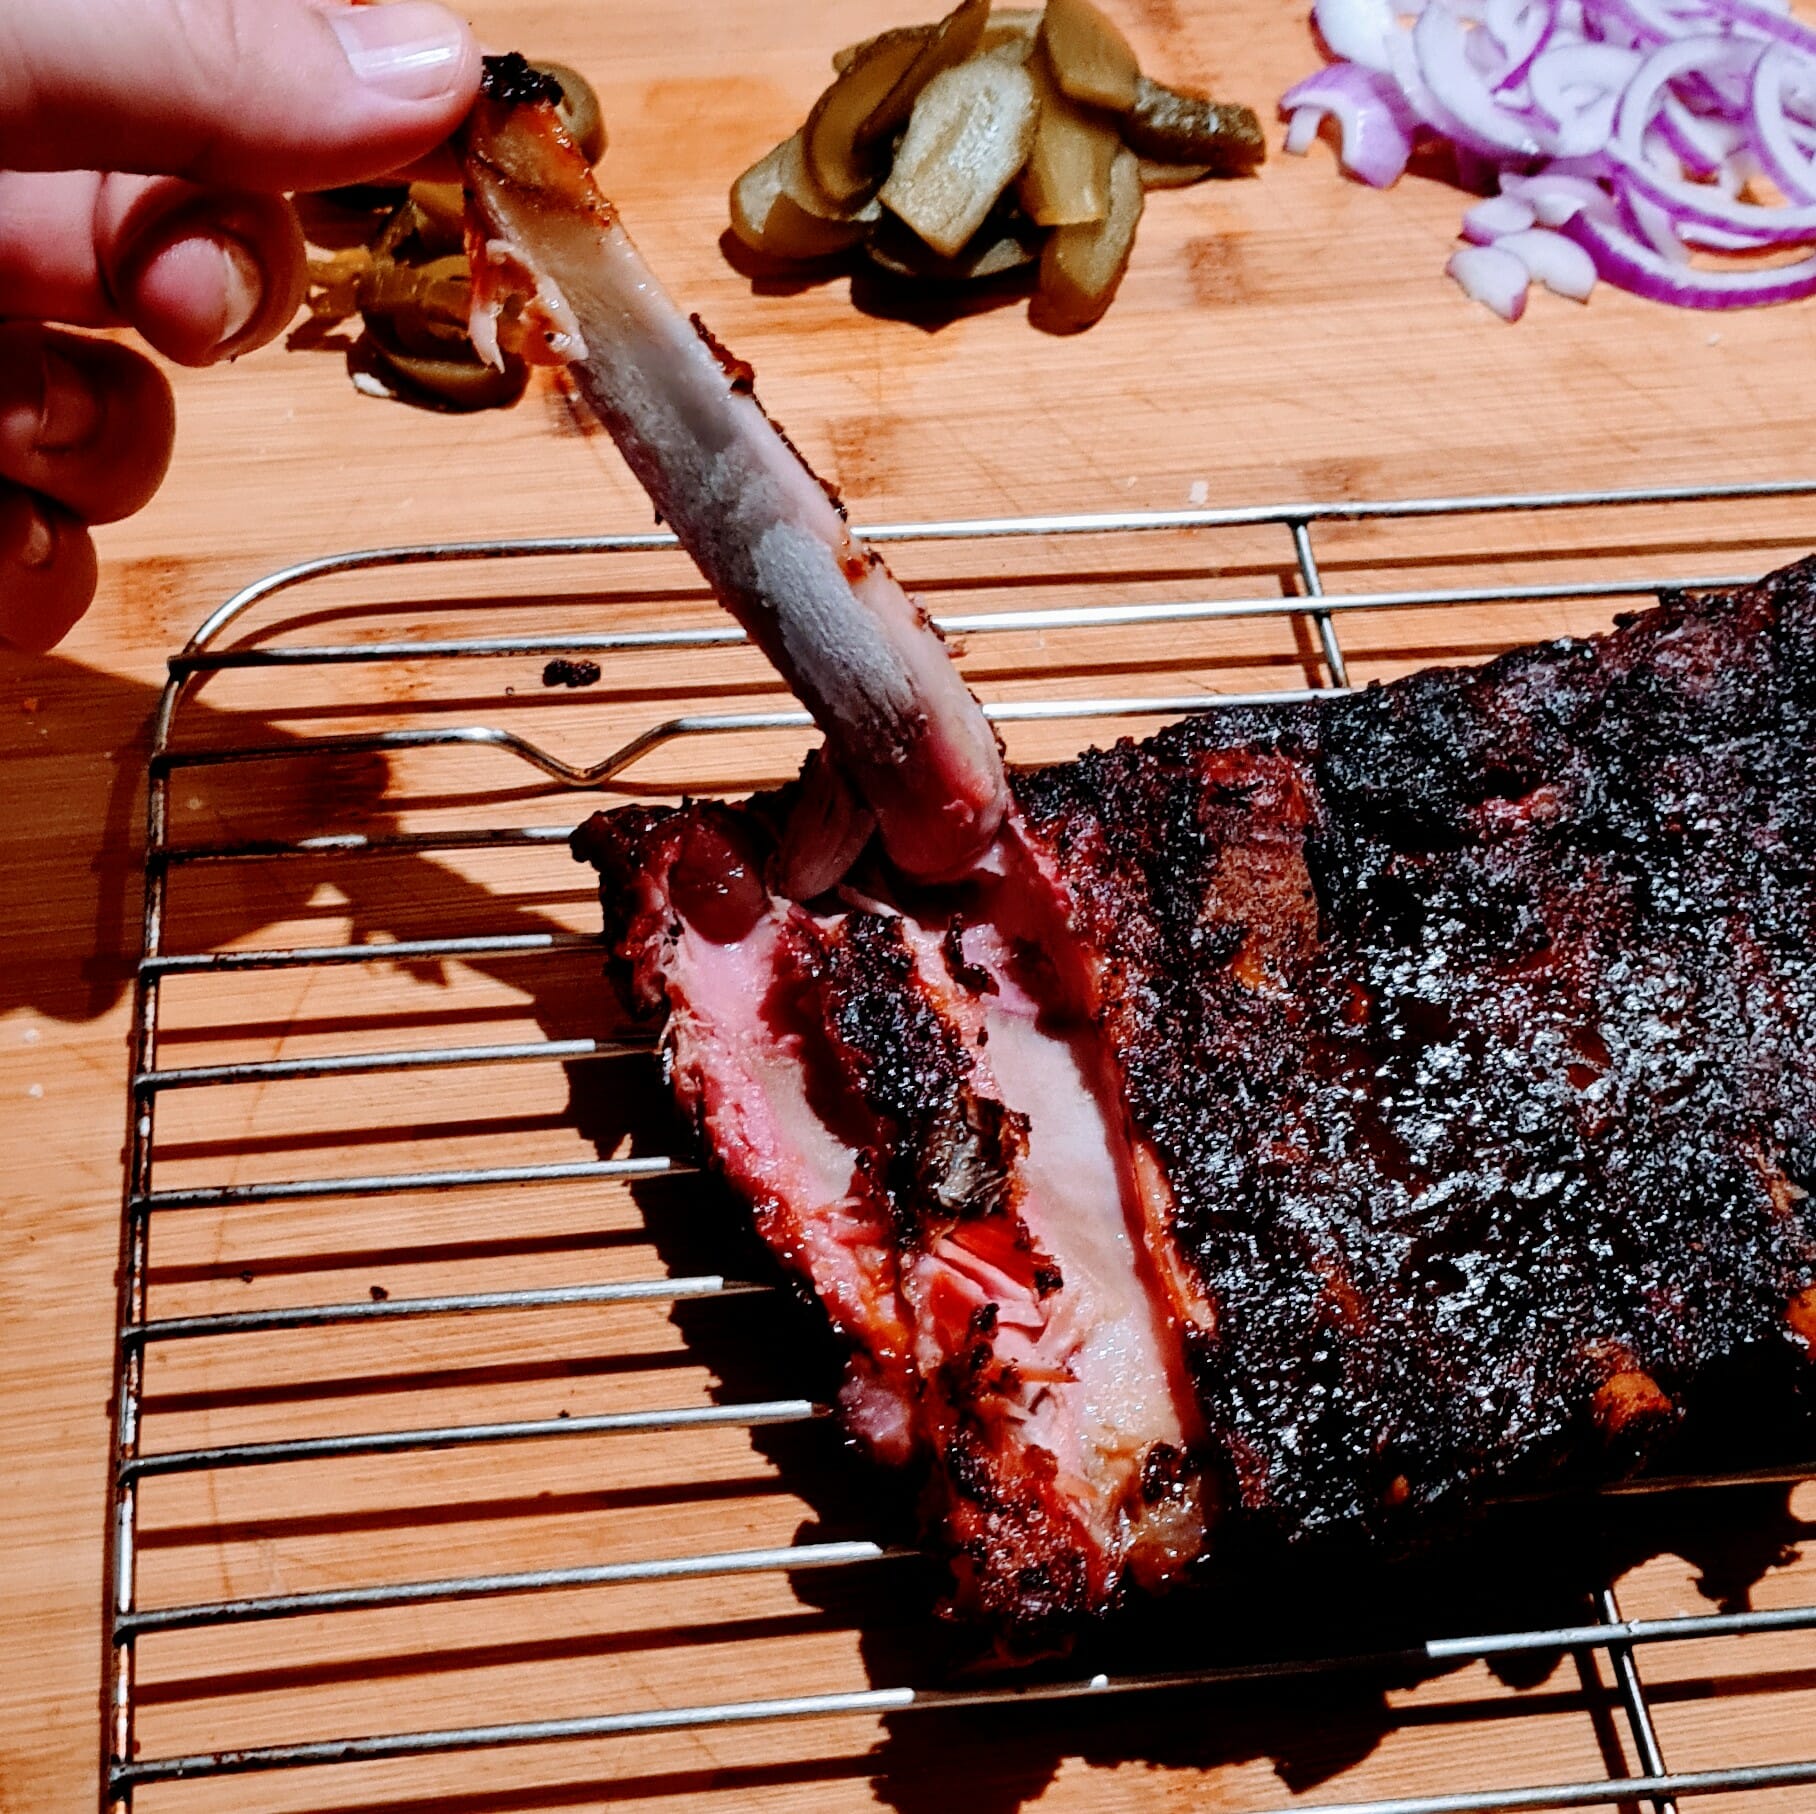
- Let rest for a few minutes before pulling out the bones (above each bone will be a little piece of cartilage, best to remove this as well)
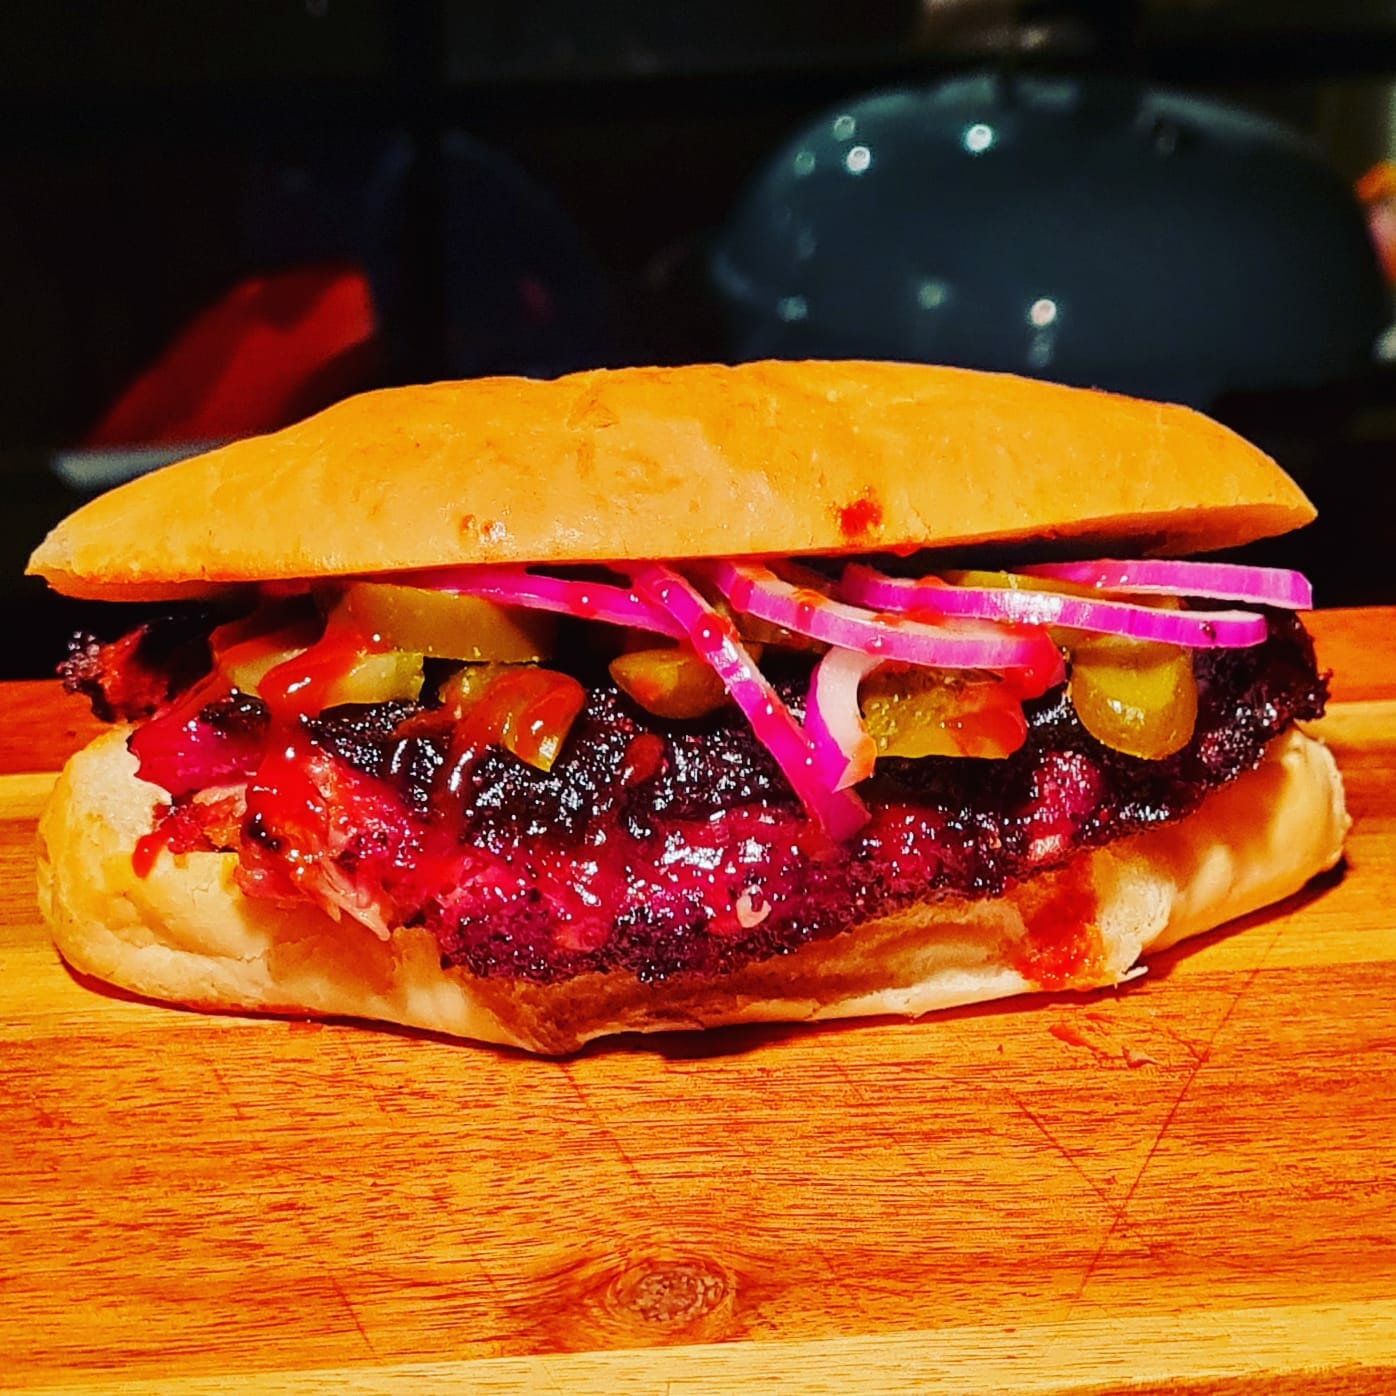
- Slice into sections appropriate for your rolls, and serve on either fresh or toasted rolls topped with an extra drizzle of BBQ sauce, onion and pickled veg to taste. Enjoy!
Notes
One rack will generally serve 2-3 people depending on appetite. Multiply the honey, sugar and butter to suit if you are cooking multiple racks.
Depending on thickness, temperature and your cooker pork ribs can take up to 5/6 hours, especially if you are not wrapping them. For the average Aussie pork rib these times should be pretty close.
A little extra note:
Trimming The Spare Ribs
To do this, start with the membrane facing up. Trim off the bulging, overhanging meat to make the ribs almost flat at the back, this the flap meat. Now turn over with the meat side facing up, feel along the rib bones and at the top, running horizontally, you will find a couple of rows of cartilage. You will also see a visible seam in the meat – just cut along this line (it follows the height of the ribs so will gradually slope downwards as you cut). From there, you have the upper cut with the rib tips to use separately, and now we simply flip over the ribs themselves and peel off the membrane. I find the easiest way to do it is to get a start with a bread knife and then grab a hold of the membrane with a paper towel and it normally comes off in one piece.
This recipe was put together by DGR BBQ. Melbourne based and a friend of BBQs & Outdoor, be sure to follow DGR BBQ on Instagram @dgr_bbq, for more Aussie Barbecue Inspo!
